Whenever we are creating a character in a game, we have to edit the face so we can actually get to choose how we want it to look, right?
The face is basically the main feature in a character’s head, making it important due to how important it can end up being, as it can express emotions and more!
In this case, we will talk about the faces we can find in Gacha Club! So, if you need some ideas to customize your character there, you have come to the right place.
Best Gacha Club Face
We all want to use the best of the best in a game! So, what are the best faces we can use in Gacha Club? Let’s see some of the ideas we have available here!
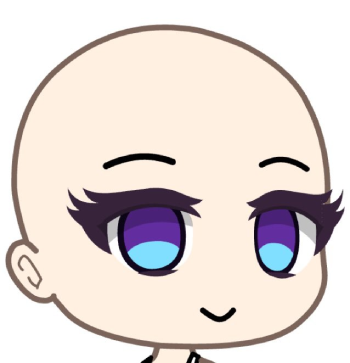


Gacha Club Face Base
If you want ideas on which face you should use on the character you are creating, you might need to take a look at some face base ideas!
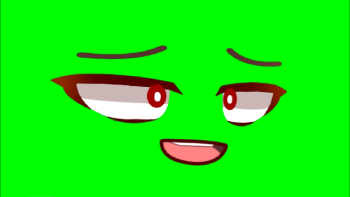
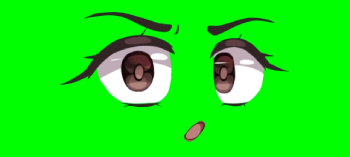
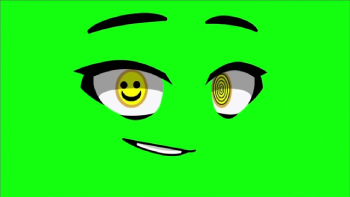
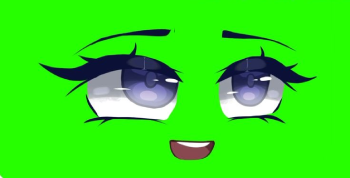
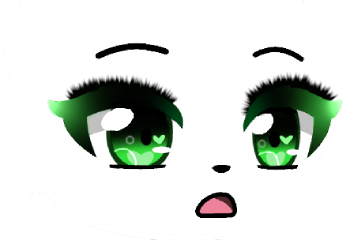
Green Screen
The green screen ideas are something we have seen a lot in Gacha Club and other similar games, and we simply couldn’t leave them aside on this list!

Transparent Background
The idea of having access to HD transparent background faces in Gacha Club is just an awesome idea. That’s why it’s time to show them here!
Face Base
The face base is what we can say is the “main” version from which people tend to create their own characters! Let’s see some ideas for this option now!

Gacha Club Face
In Gacha Life, we can find different types of faces we can play with. Depending on the character you are making, these ideas might give you a boost in your creativity!
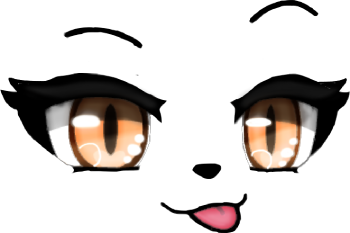
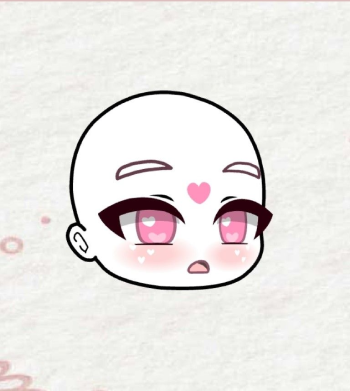
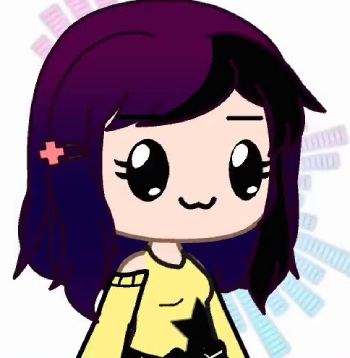
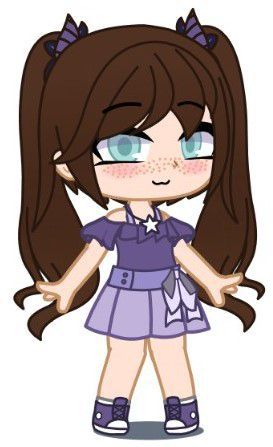
Cute Face
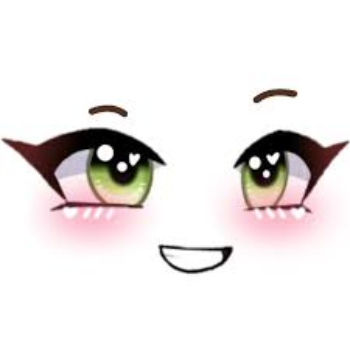
A cute face in Gacha Club is what most people want to have! So, if you want your character to look cute, these ideas we have are perfect for you!
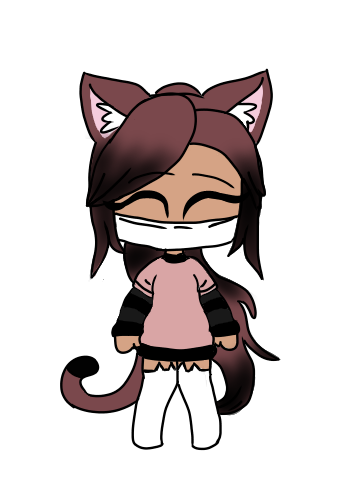
Face Mask
Since the pandemic and even before, using masks on a face has become quite common in games like Gacha Club!

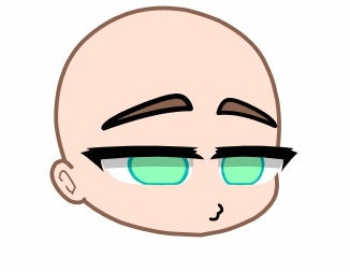
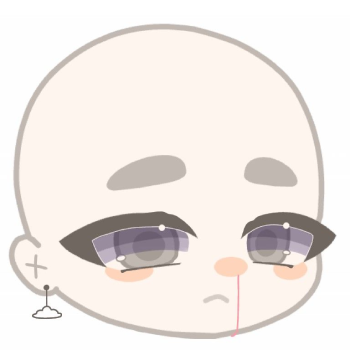
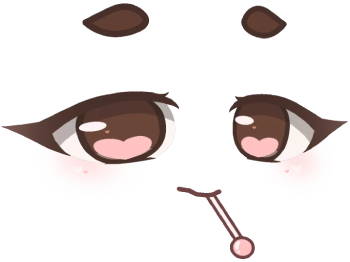
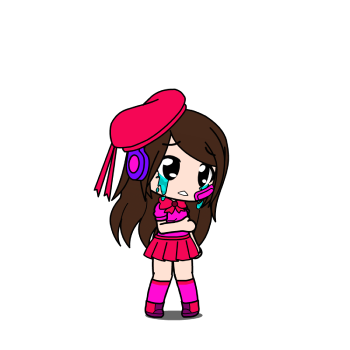
Sad Face
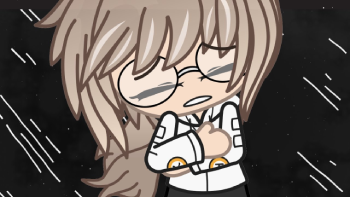
Sad faces are pretty common to see in Gacha Life! If you want to use one, the great news here is the fact there are many options you can take for your character!
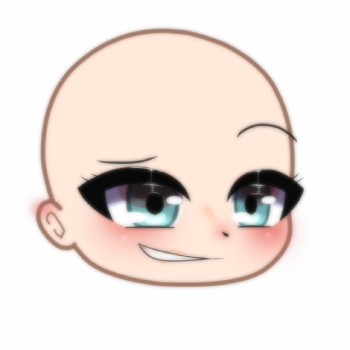
Smiling Face
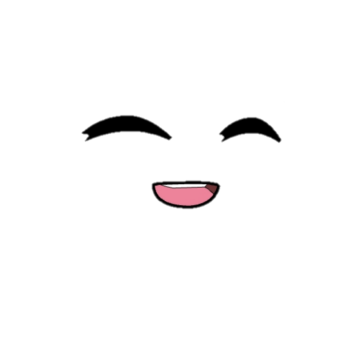
For those trying to have a happy character, these happen to be the best ideas we can get in Gacha Club to customize and give a smiling face with different ideas!
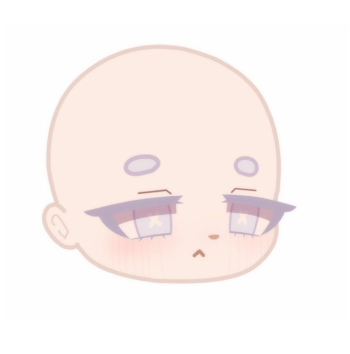
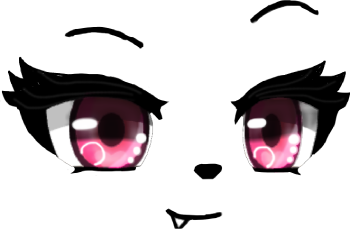
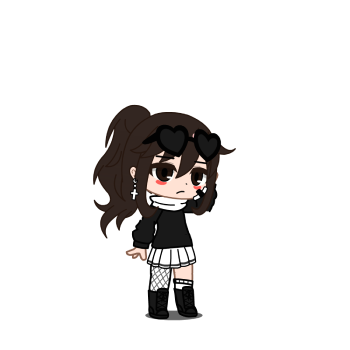
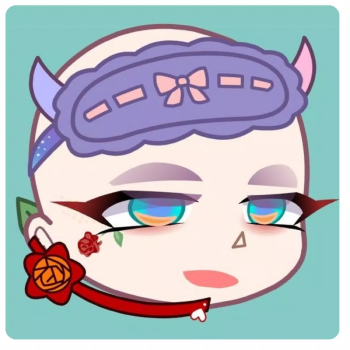
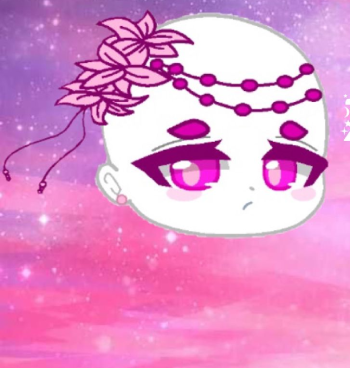
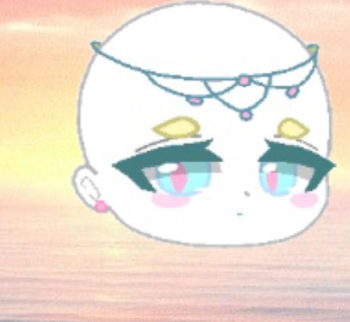
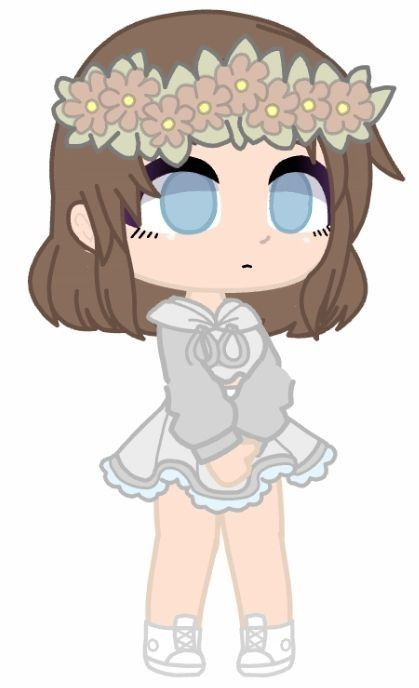
Aesthetic Face
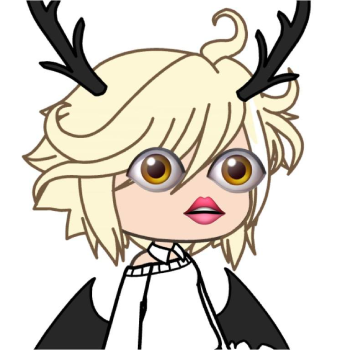
An aesthetic face is great to have and even look at. That’s why in Gacha Club, we can find many aesthetic ideas for our characters to use!
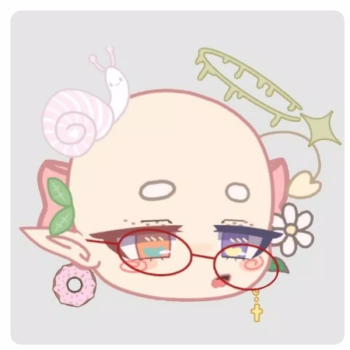
Funny Face
Having a funny face means being ready to make memes or something hilarious in Gacha Life, and that’s what we will show right here and now!
Gacha Club Face by Gender
When it comes to genders, we could say both girls and boys can use the same faces, but that will mostly depend on how they want to look!
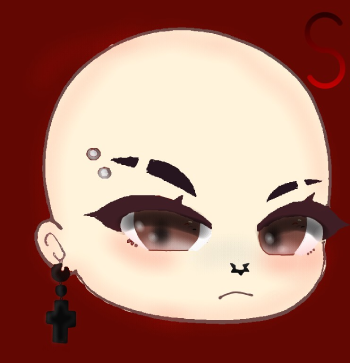
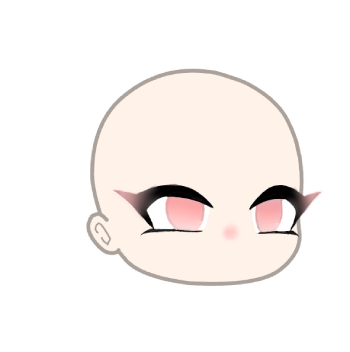
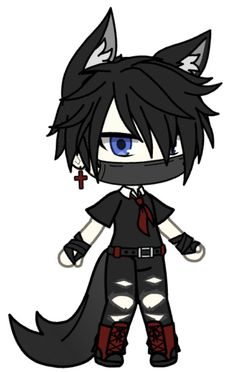
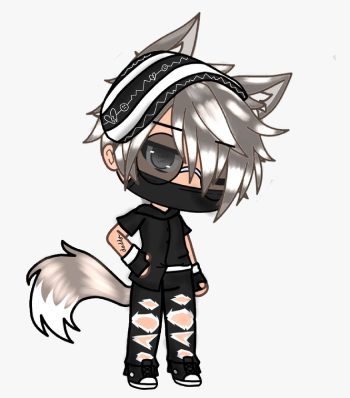
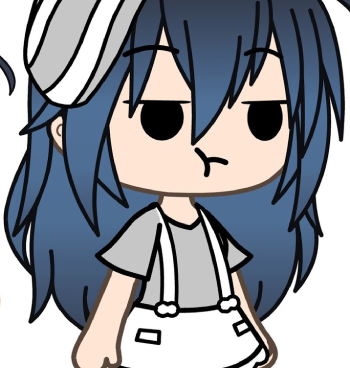
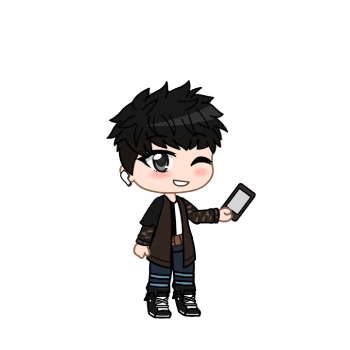
Boy’s Face
A boy’s face tends to be more intimidating than a girl’s one. It will also depend on how the character looks, but we have some ideas for you!
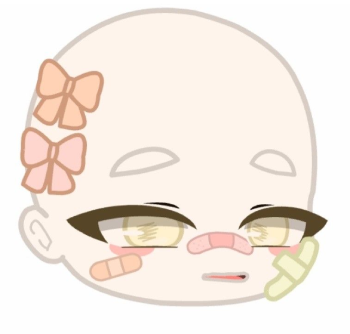
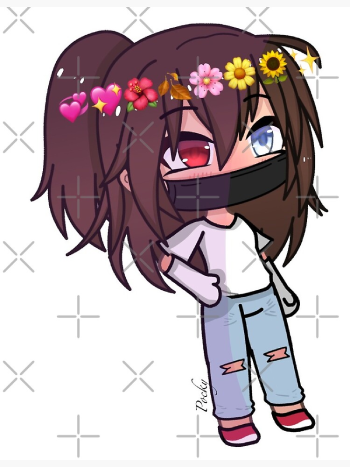
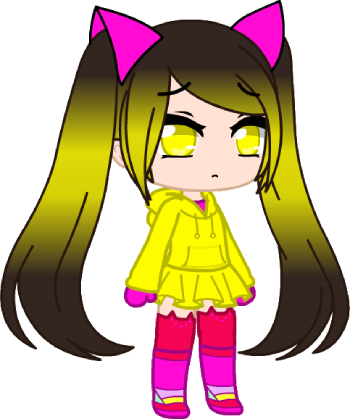
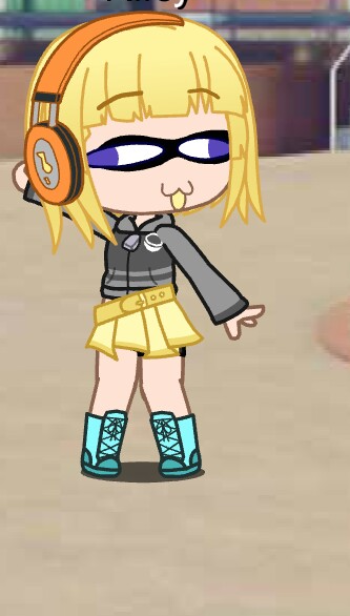
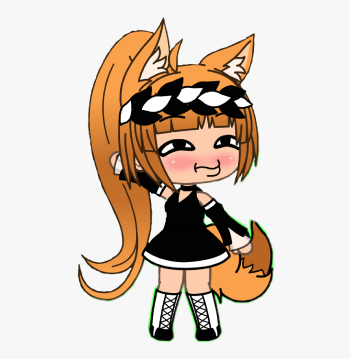
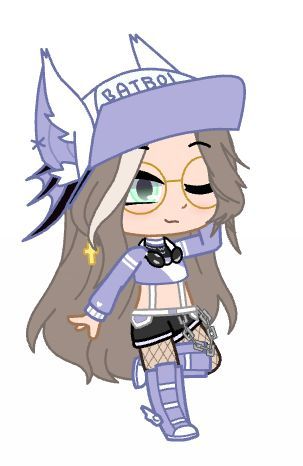
Girl’s Face
Just like it happens with boys, girls will have their own faces too! These faces are more likely to be cutter than any other thing!
How to Edit Facha Club Face
Do you think that editing your face is what your character needs? If the answer is yes, then we have a tutorial for you to do it!
The first thing you will need to have, and for other Gacha-related tutorials, is proper editing software. It can be Ibis Paint X, Paint, and other similar options!
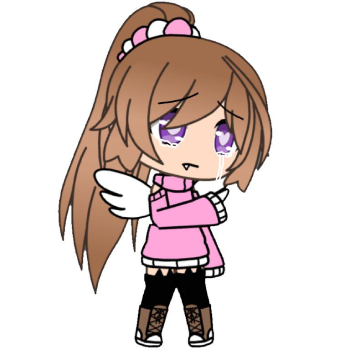
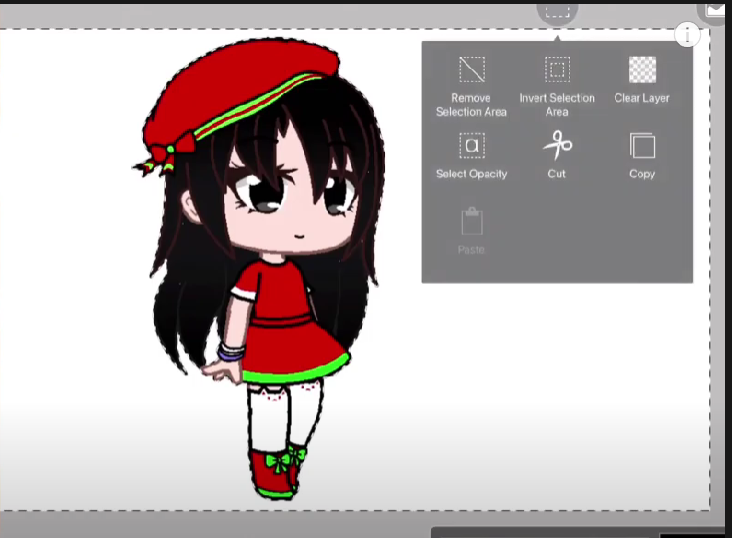
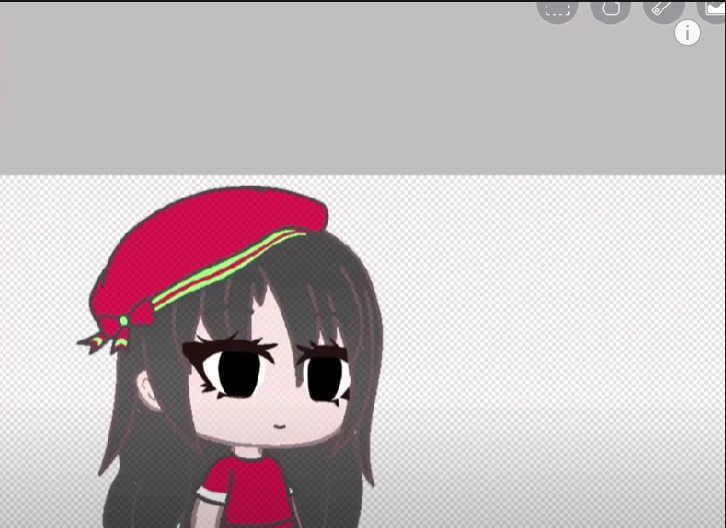
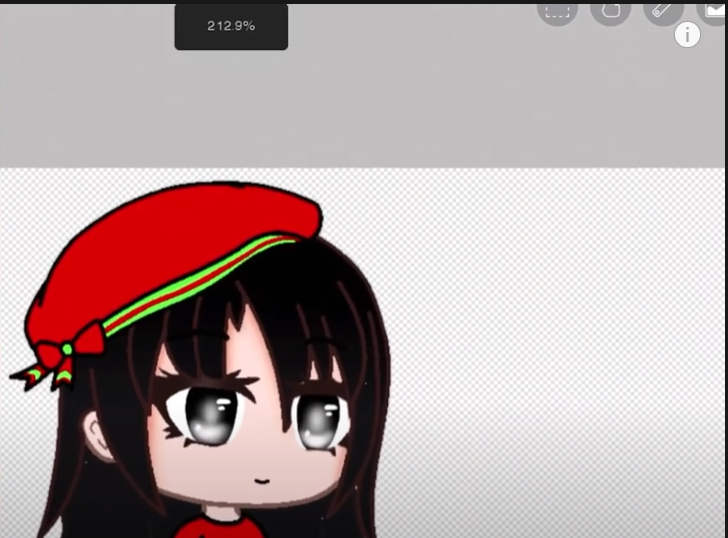
Now, to start the tutorial, you will need to have a screenshot of your character as the main layer where we will start working!

Next, in the tutorial, we will erase our character’s background. Depending on the software you are using, this can take you more or less time to achieve!
This step will help us to work better on our character face due to the following steps we are about to show you!
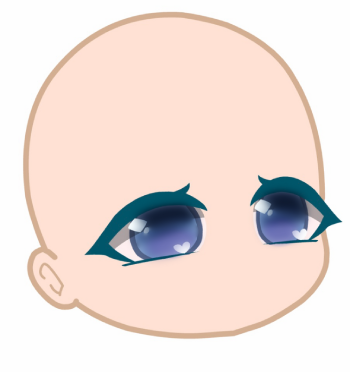
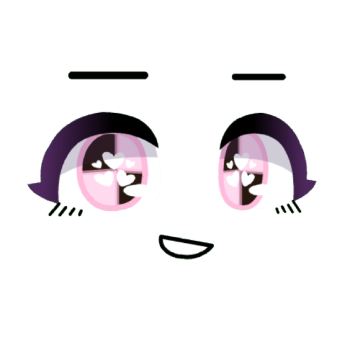
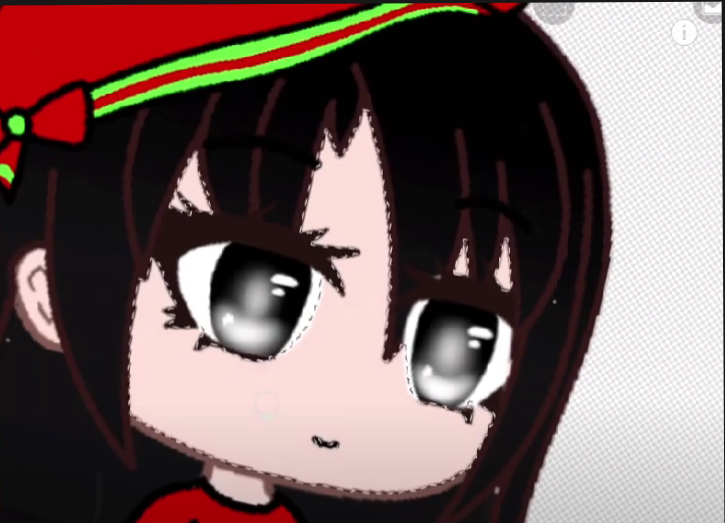
The first thing we will edit is the eyes! To do this, you should create a new layer where you can start working ONLY on the eyes!
The thing here is that we will draw the character’s eyes from zero. That way, you can start to customize the face!
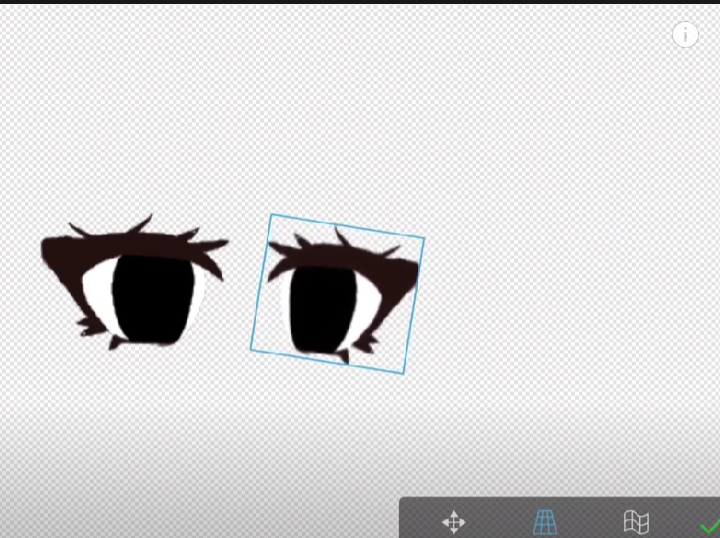
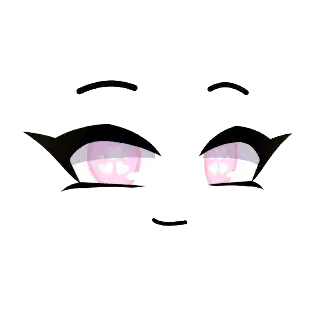
When you are done drawing one of the eyes, it’s time to duplicate it. Once you do this, then you have to turn it in the other direction, so you get symmetrical eyes on both sides!
Of course, you can’t just leave the eyes with a whole black iris, and that’s why a new layer is required!
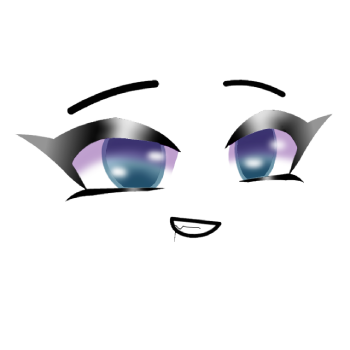
You will start working on the details for the eyes on this new layer! You can add brightness, some color, and other details, too; it’s up to you!
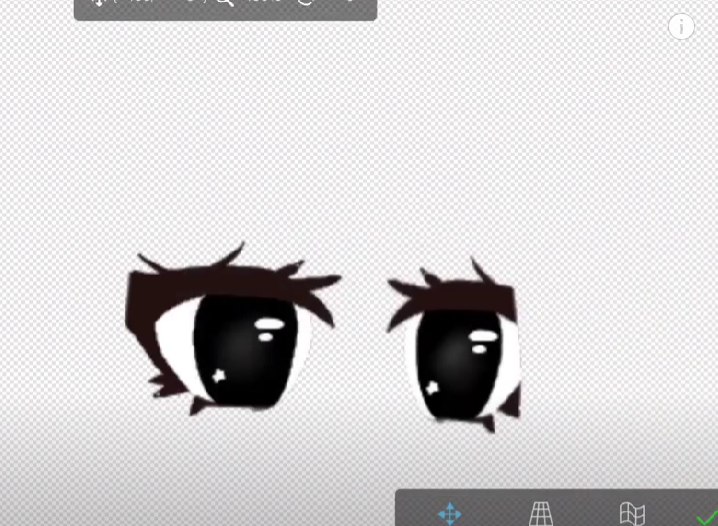
Once you are done playing with the details on the eyes, take the eraser tool and eliminate the details that won’t look good on the character’s eyes!
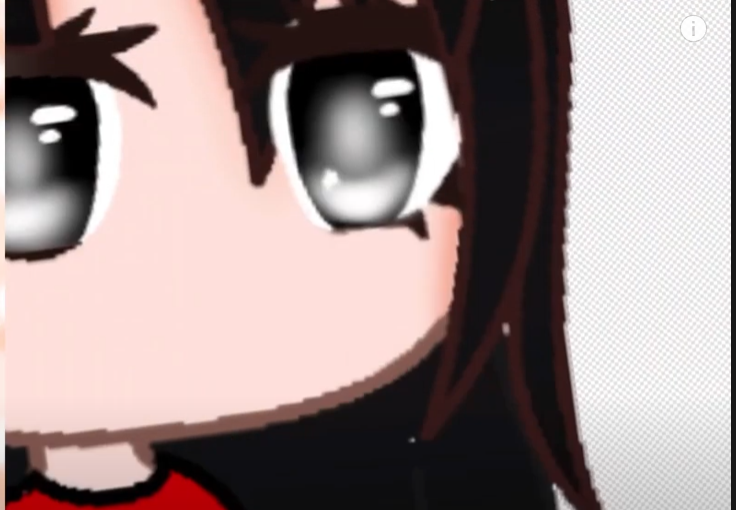
When you are done working with the eyes, you should move to the face. In this case, we will show you how to play a bit with the color of the character!
To do this step, you will need some extra patience! You first need to take the contour of the whole face without taking other parts of it, like the face or eyes.
Once you are done, it’s time to start adding color to the face in a new layer. Don’t touch the old layers, or it will change the result of the character.
The new layer you will use must be on “Multiply.” It is done this way due to the fact it will actually add color to the face, making it look darker or brighter depending on the color we use!
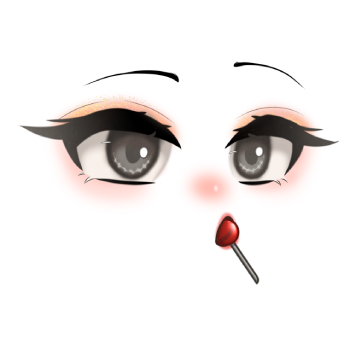
In this case, the idea is to add some color to the cheeks! Take the same color of the face and add a bit of redness to the cheeks. Erase what you won’t need on the final result!
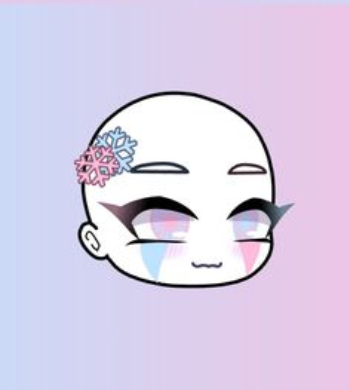
The following step is to edit the smile on our faces! For this, you can erase it from the first layer to avoid other issues.
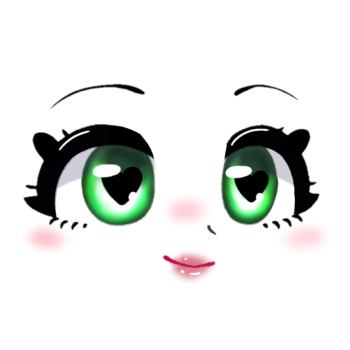
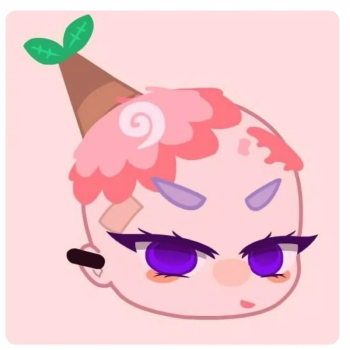
You can choose how you want your character to look here. You can choose either a smiling face or a sad face, among other possible ideas you can come up with!
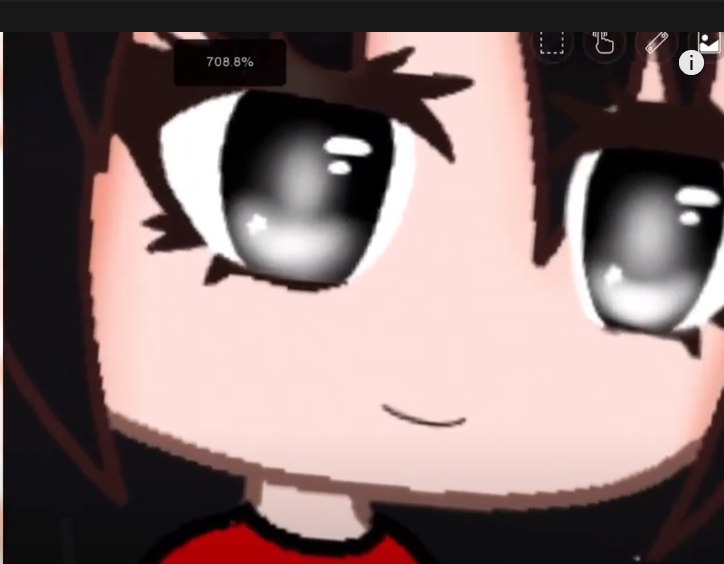
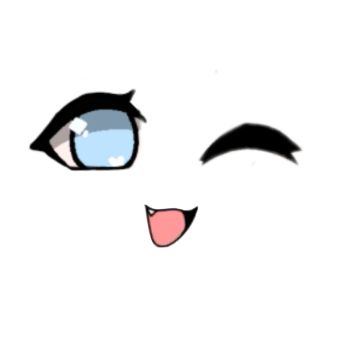
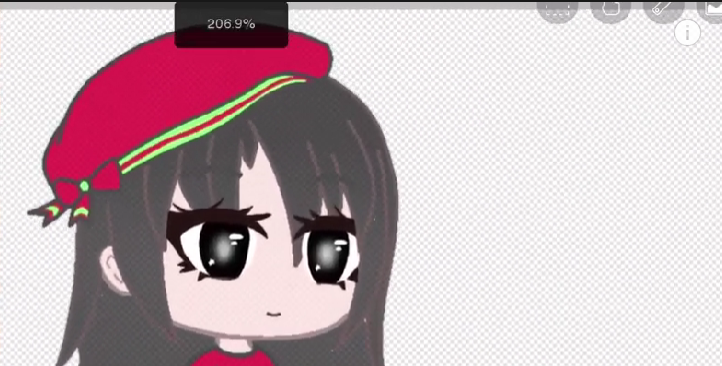
The final result should look like the image above! Remember, you can try this same tutorial to make other faces: mad faces, sad faces, and even some funny face by taking your character as the base of it!