We know tears are known for being a way to express feelings. There’s no doubt about that; in Gacha Life, we can still use them for the same thing!
Tears are known for appearing in people’s eyes. Well, the same happens in Gacha Life, as our characters will reassemble quite a real-life look.
That’s why we can’t miss the chance to see the best tears in Gacha Life and how they look on some characters!
Best Gacha Life Tears
Tears will always be on our character’s faces. It might be hard to imagine many different tears because they all look the same. That’s why we have various ideas for you to look at!
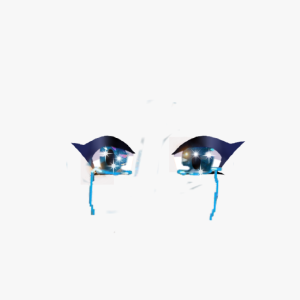
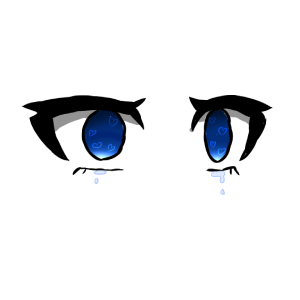


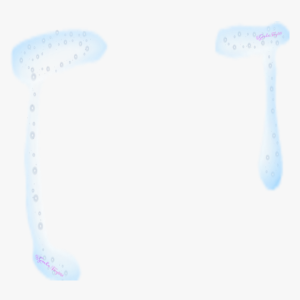



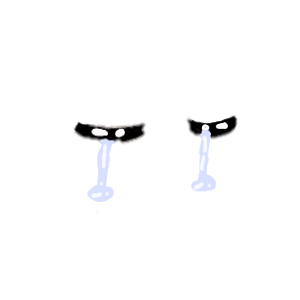
Gacha Life Tears Base
All the tears, such as other elements in Gacha Life, come with a base that everyone can take and make their own creations. That’s why we couldn’t leave them aside!
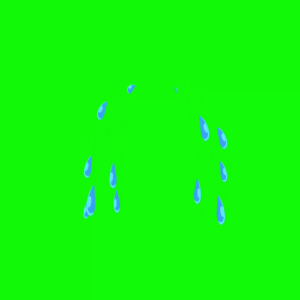
Green Screen
We all know what a green screen means in Gacha Life. It is the perfect starting point to make amazing creations, and we all know that!

Transparent Background
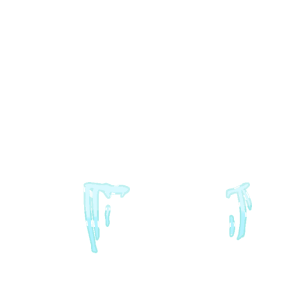
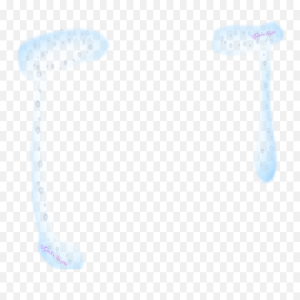
As for the transparent background, this one is pretty famous among the Gacha community. What tears can we find in this format?

How to Draw Gacha Life Tears
Whenever we talk about tutorials in Gacha Life, there’s much to learn. People think customizing is easy, but learning how to do it takes time.
Especially, when we talk about features such as tears. There are so many details to consider as well. People might need some help to achieve a good result!
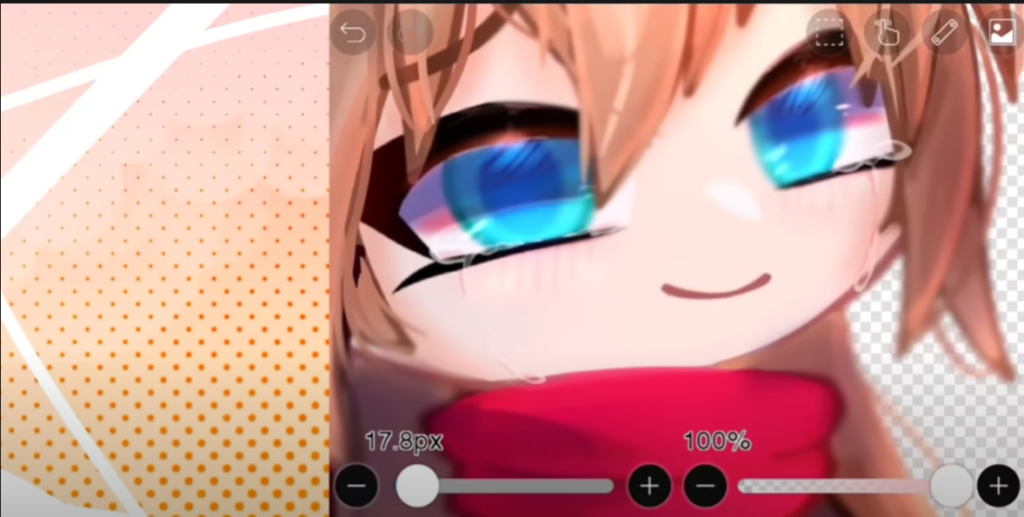
That’s why we have a tutorial to make some good tears for your Gacha Character! First of all, choose your preferred edition app; we highly recommend Ibis Paint X!
For the first step of the tutorial, we need to make the basic canvas: a picture of our character’s face.
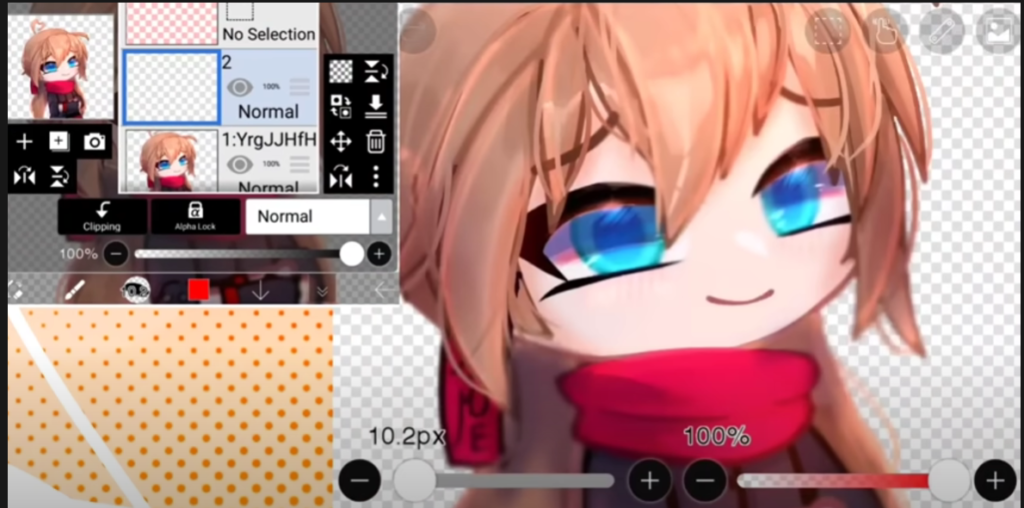
Once we have it, we will draw the shape of the tears we want. In this case, we will focus on the end of the eyes tears!
Draw using circles and kind of circular lines that adjust to the shape of your face. That way, tears will run down symmetrical.
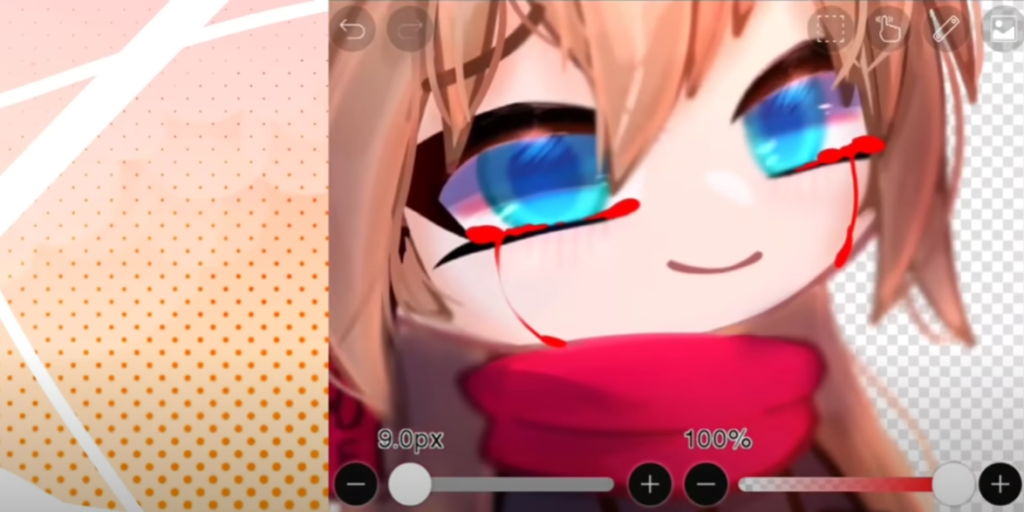
Now, it’s time to erase some of what you have done. But, just a little bit, that way, tears won’t look too big.
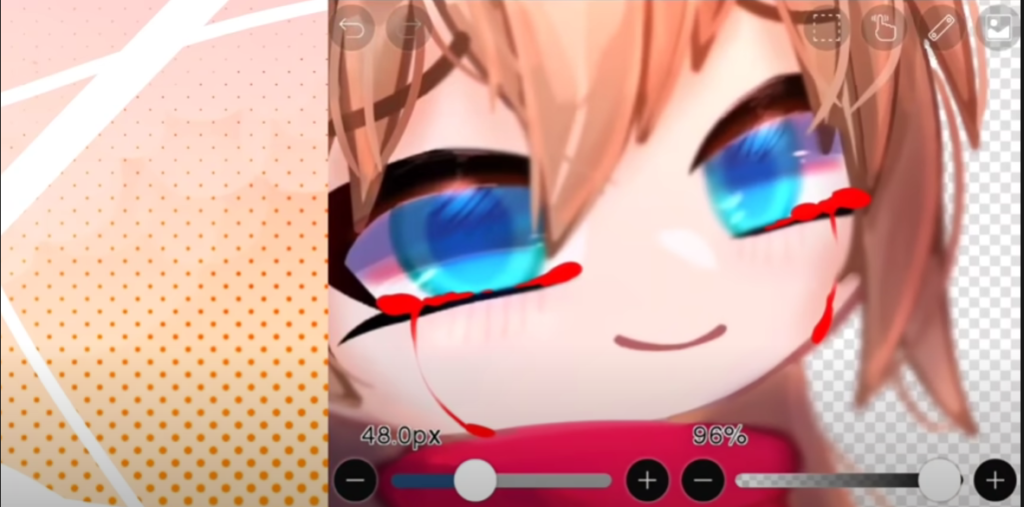
When it’s done, make a new layer, set it on normal, and paint those tears white. The next step will be to erase the inside of the tears with extreme care!
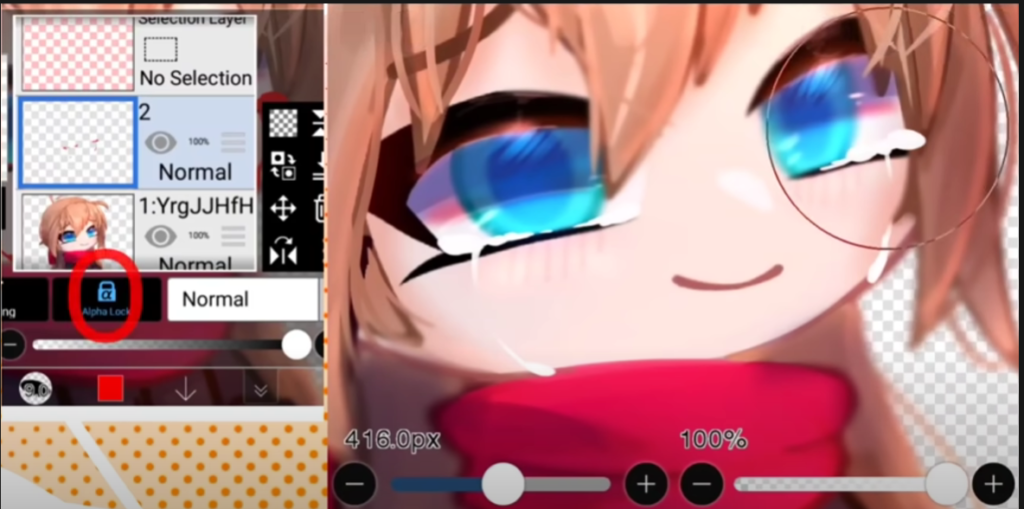
This process should be done with a small brush that won’t mess up your previous draw. When you finish it, it’s time to get to the details.
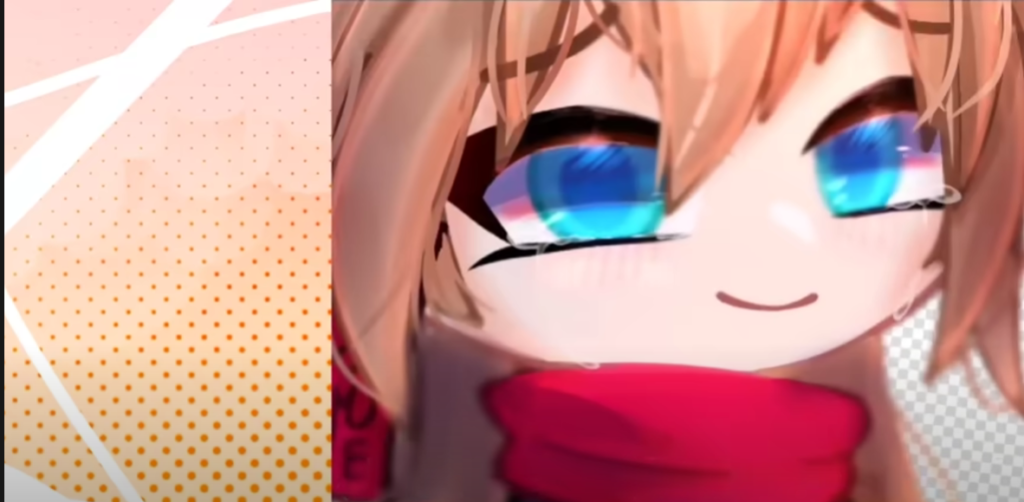
The next step will be to “darken” things a bit. For this, you will need to take the colors that are near your eyes and at the bottom of your face to make tears look like they are part of your character!
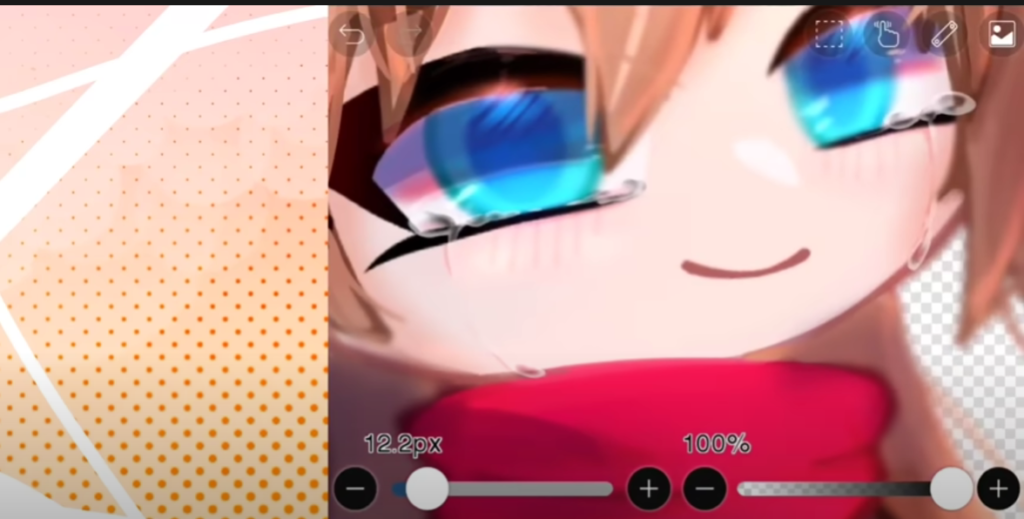
Play a bit with the result until you can tell those tears look good for the next step. In this case, it’s time to add the details of the tears.
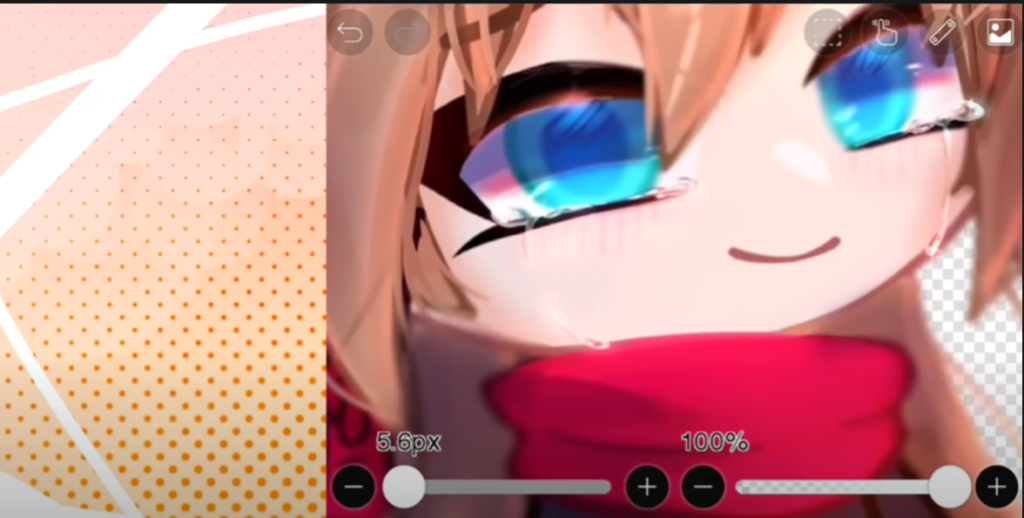
In a new layer, it’s time to add the brightness of the tears. You can do this by choosing colors that are on your character’s face, such as the eyes, cheeks, and so on.
Now, set a new layer on “Multiply”. That way, you will get the chance to give more details to your eyes.
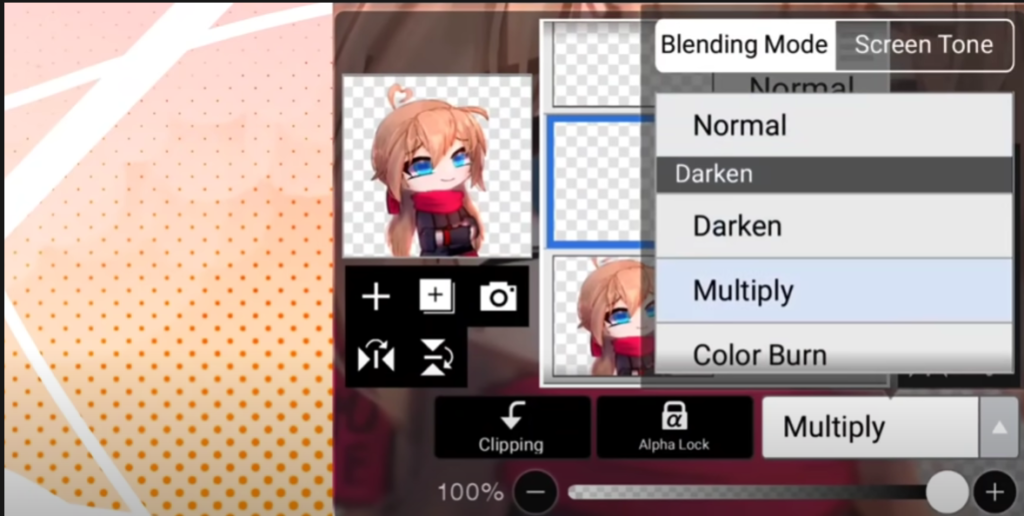
For the final step, create a new layer. In this layer, set it to add or lighten so you can add extra brightness to the tears.
When you are done, you can repeat this tutorial with other kinds of tears. So, I hope you can learn from it!