Changing the face of your character is always something fun to do. A Gacha character can change its appearance by moving some things on its face!
The face is the main part of a character as it also holds the eyes, mouths, nose, and even the hair. That’s why it is so important to know the different looks it can have!
So, if you need ideas to customize your character, or maybe simply want a funny face to use, you came to the right place as we have lots of unique ideas here!
Best Gacha Life Face
We all know that some faces in Gacha Life are only the best of the best. So, why don’t we look at the ideas everyone loves?

Gacha Life Face Base
Most of the faces are made following a base. That’s how people actually create their character face from scratch!
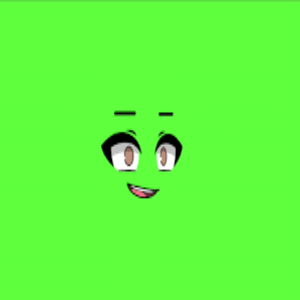
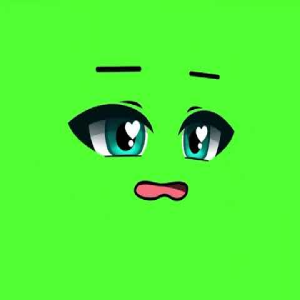
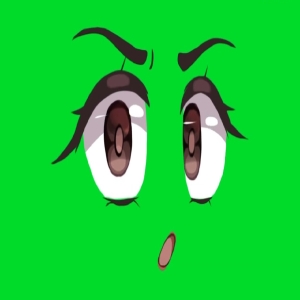
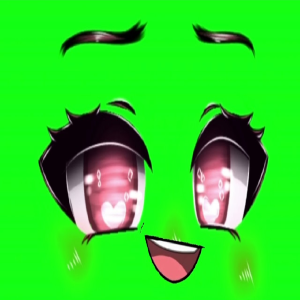
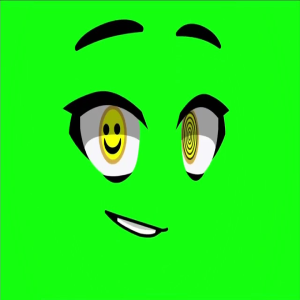
Green Screen
The green screen is perfect for making animations with our Gacha Life character, and that’s why we have some ideas for you to use!
Transparent Background
When it comes to transparent background, there are obviously lots of ideas for people to use. That’s why we couldn’t leave you without some ideas to look at!
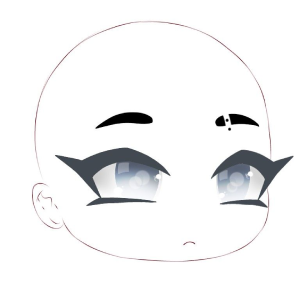
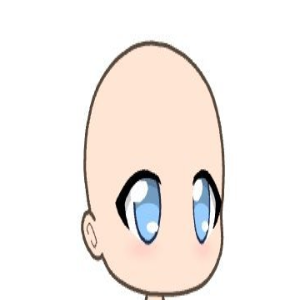
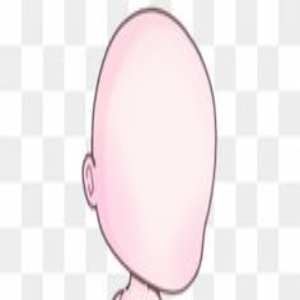
Face Base
The face base is the perfect canvas for us to customize how our characters look. So, why don’t you take a look at some of the best face base ideas?
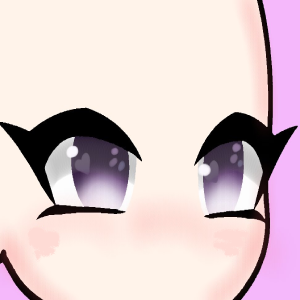
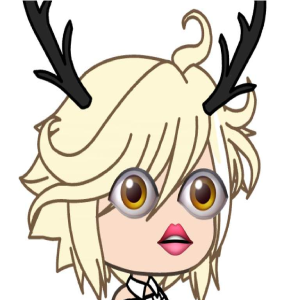
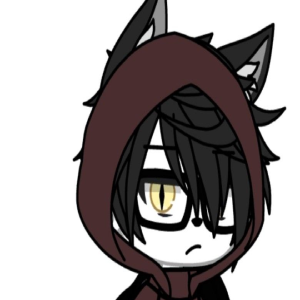
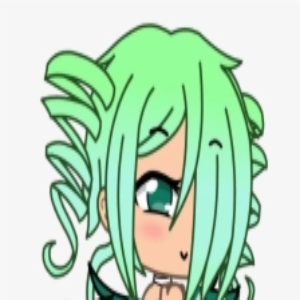
Gacha Life Face
As we have mentioned before, people can see many faces when creating a Gacha character. So, let’s see some of the coolest ideas you can use!
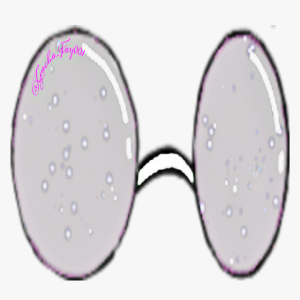
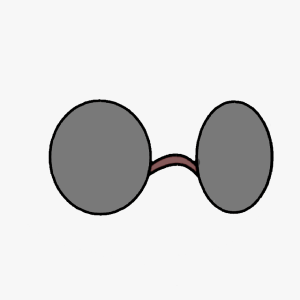
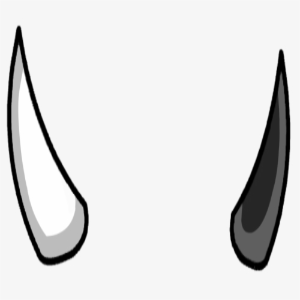
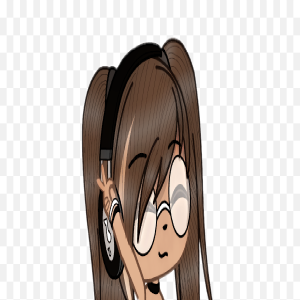
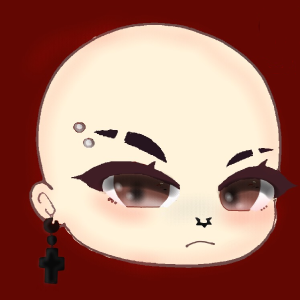
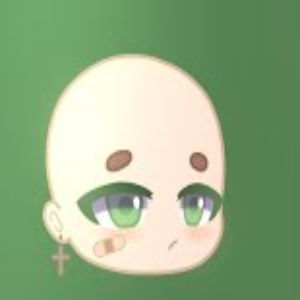
Gacha Life Face Accessories
Faces are meant to be customized too. That’s why having some accessories is one of the best customizing options to have in mind!
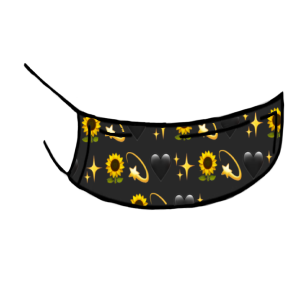
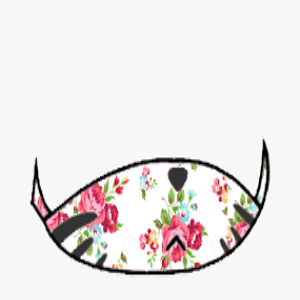
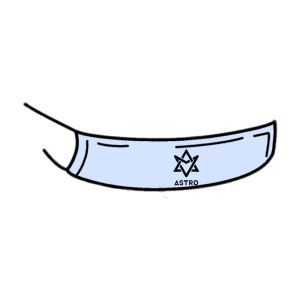
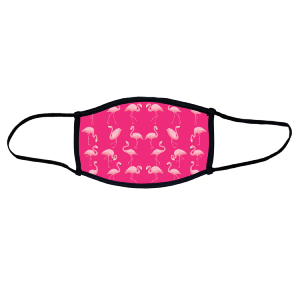
Face Mask
Face masks became pretty popular a while ago. That’s why we couldn’t leave some face masks ideas aside!
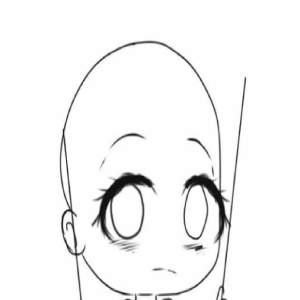
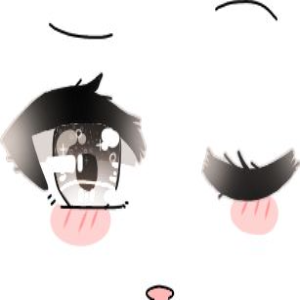
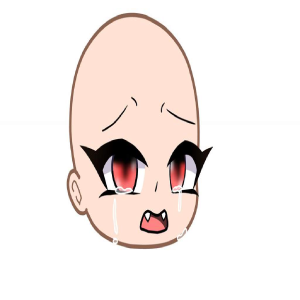
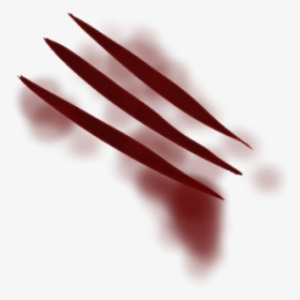
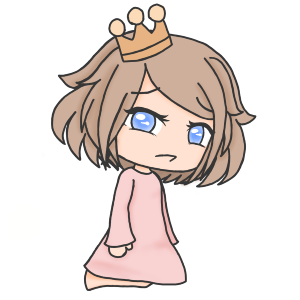
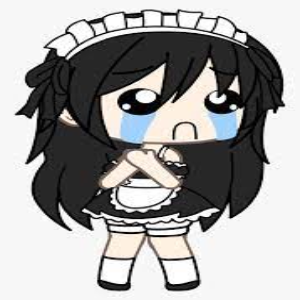
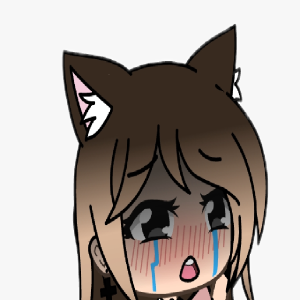
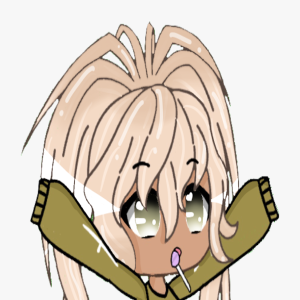
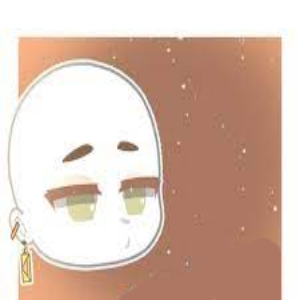
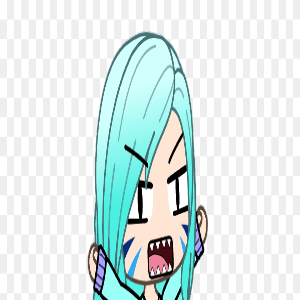
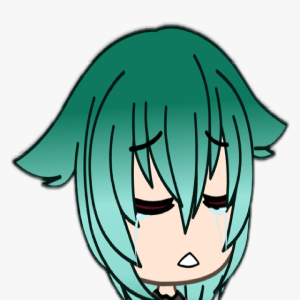
Sad face
Trying to express some emotions with your Gacha Life character? A sad face might want you to need to make it possible!

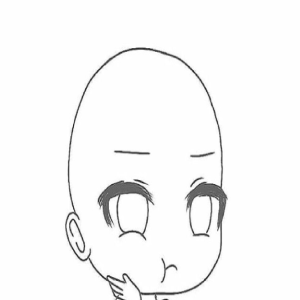
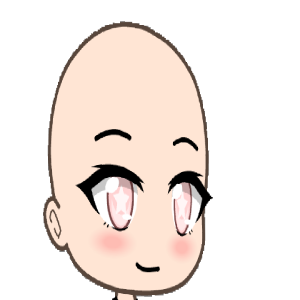
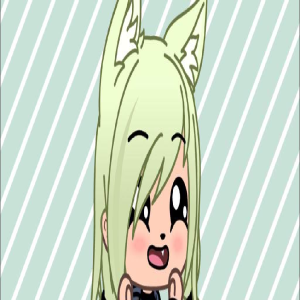
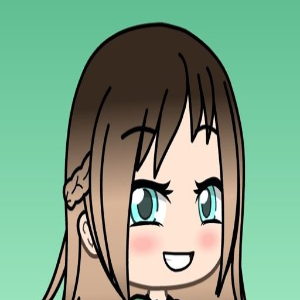
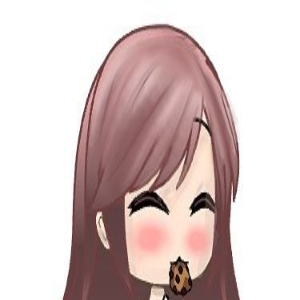
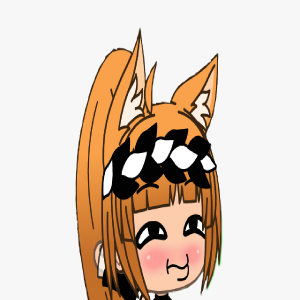
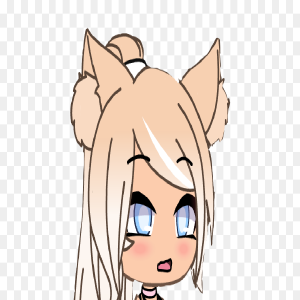
Cute Face
When it comes to cute faces, Gacha Life is for sure a great idea to think about customizing and giving a unique personality to your character!
Smiling Face
Smiling faces are always something great to look at. That’s why when you want to give a friendly look to your character, you have to give it a smiley face!


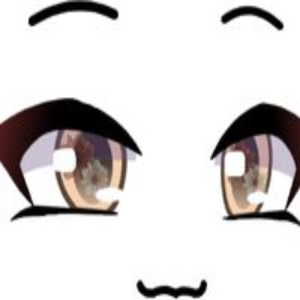
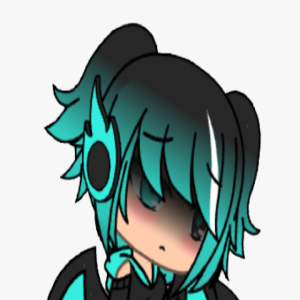
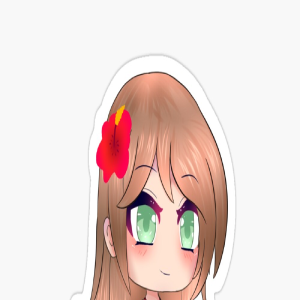
Aesthetic Face
Looking aesthetic is something pretty famous nowadays. The more aesthetic you look, it is for sure that the better your character will look to others!

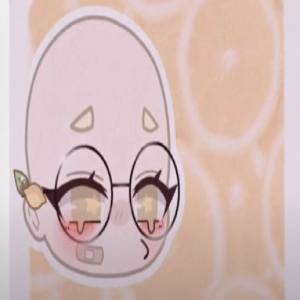
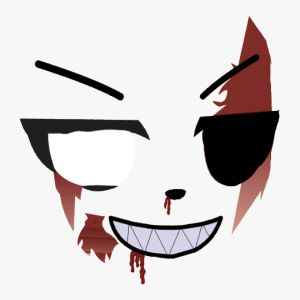
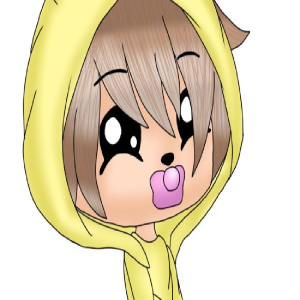
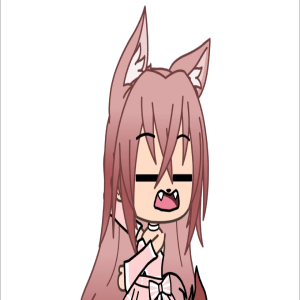
Funny Face
Trying to look funny for the Gacha community? Well, maybe a funny face is what you need to give your character that easygoing look!
Gacha Life face by Gender
Boys and girls can share faces when it comes to Gacha Life. But for sure, there are some faces that just suit better one from the other!
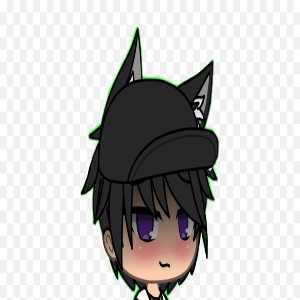
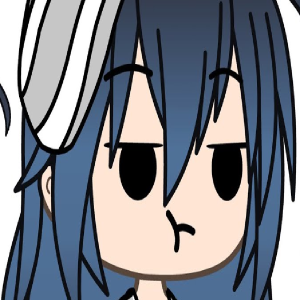
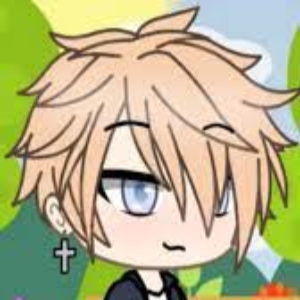
Boy’s Face
Boys tend to have a pretty serious face. When it comes to telling emotions or something similar, they can’t miss the chance to use their face to express it, which happens in Gacha Life too!


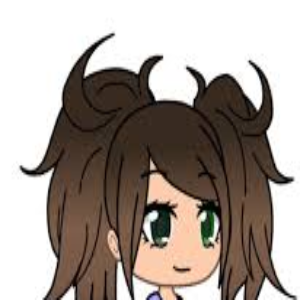
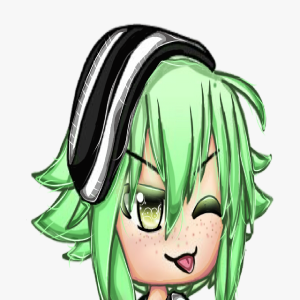
Girl’s Face
Girls’ faces tend to be more cute and smiley than boys’. After all, they will always try to give that soft look even on their Gacha characters!
How to Edit Gacha Life Face
When it comes to edition, knowing how to edit your face is a must! That way, you can turn a boring face into something incredible.
Out there, we can find many edition apps, such as Ibis Paint X, or we can use the one we feel better with. It could be Photoshop, Photopea, or something similar.

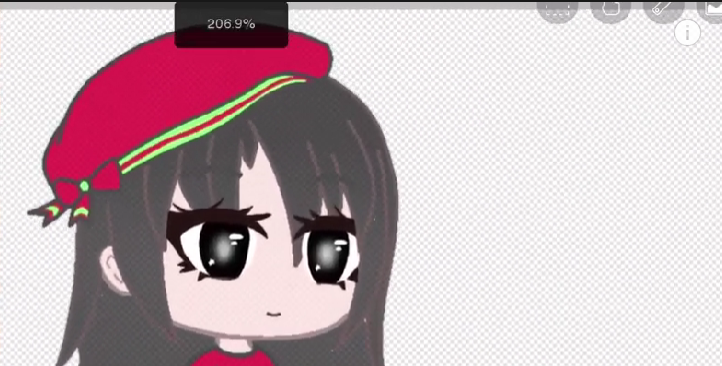
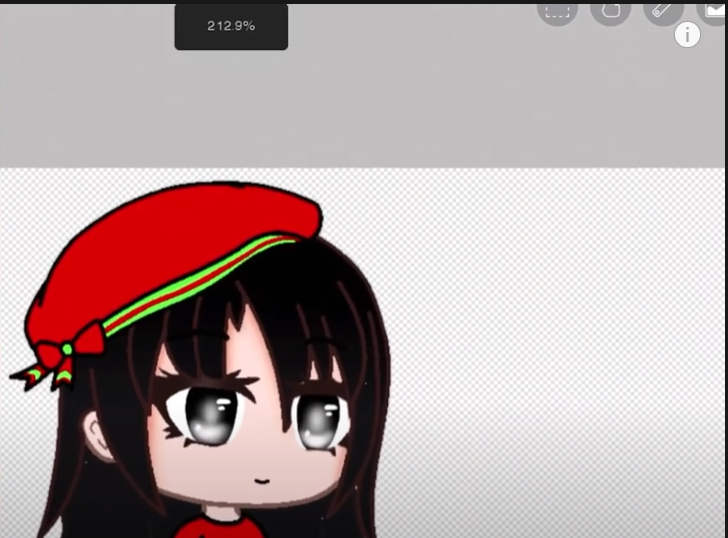
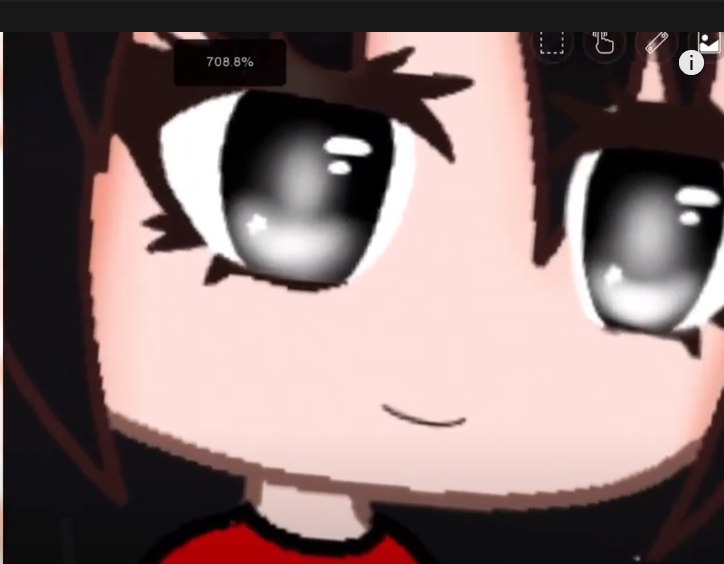
Our step-by-step guide to editing Gacha faces begins with picking a picture of our character and putting it on a blank canvas.
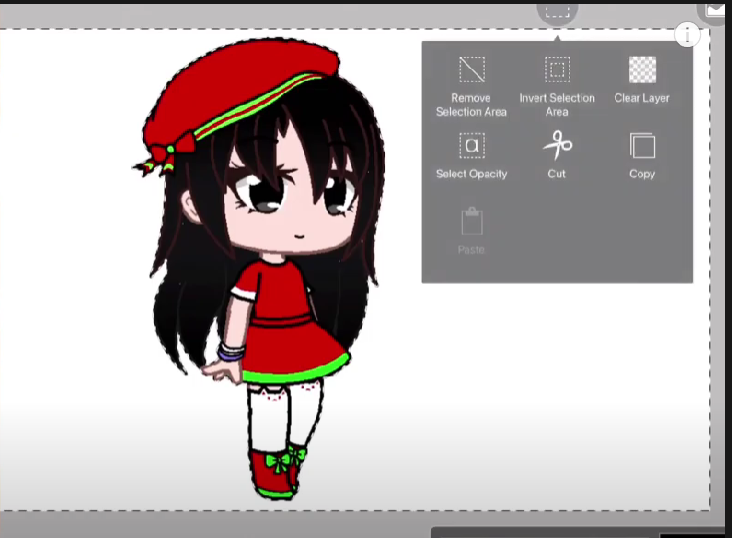
The next step we have to take is to erase the background of our character. That’s a must for what comes next, which is editing the eyes.
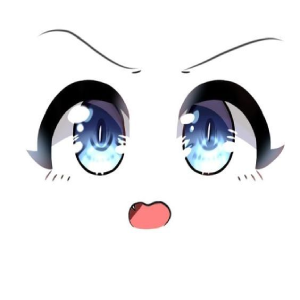
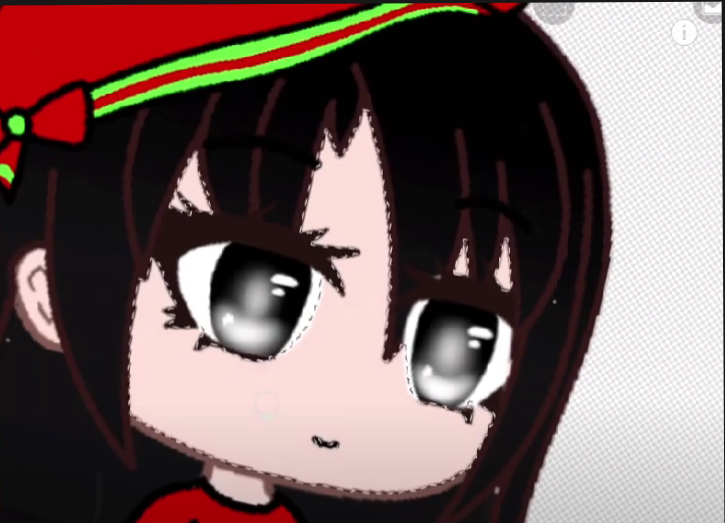
The next step is to draw the eyes of our characters on a new layer, but we can change how they look a bit.
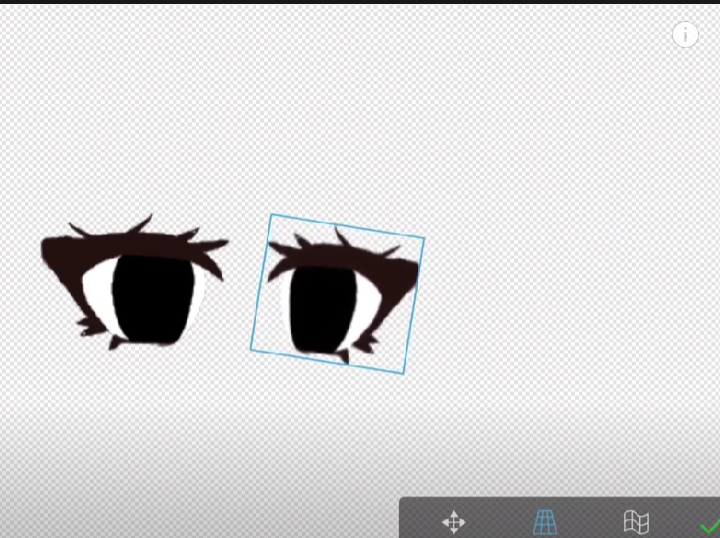
First, we will draw one eye and duplicate it. Why duplicate it? Because you will turn it the other way, so you have symmetrical eyes!
Once this step is done, you need to add some details to your eyes. This is done in a new layer, don’t play with the old one for now.
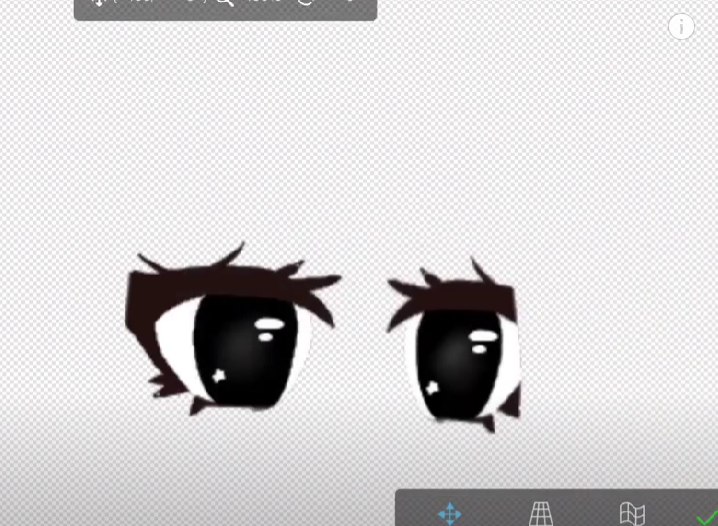
You should add details such as the brightness of the eye, the iris, and other details that fit the eye. Remember to erase what you won’t need from the eye, so it doesn’t look messy!
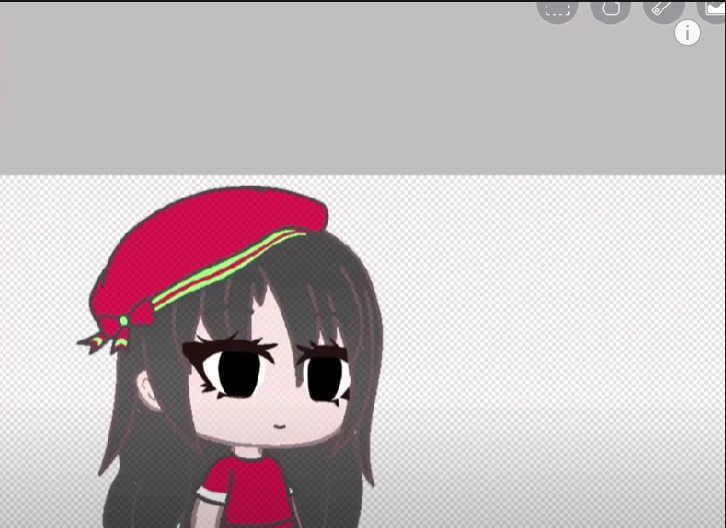
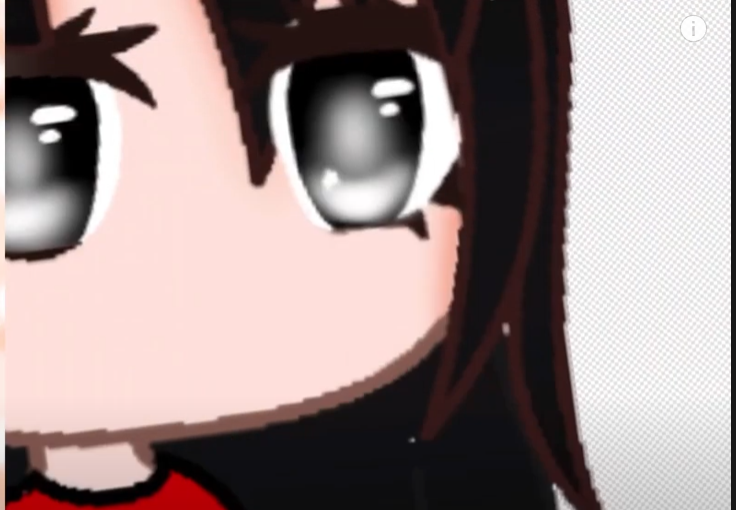
The final result should have the eyes with all the details completed and the parts that aren’t needed to be erased. Once it’s done, it’s time to play a bit with the color of the face!
Here, you will need to grab the contour of the face. This will help you to work on it without damaging other areas of your character.
Try to add only the face, don’t grab the inside area of your eyes or your hair. It is important to keep in mind these details.
Start adding some color to your face. This will be done in a new layer which should be set on “Multiply.” That way, the details will actually be seen!
Now, erase the mouth and add some color to the face. Try to add the same color your skin has, but with the “Multiply” option, it will look darker!
Last but not least, play a bit with your mouth. Erase it and change how it looks! Maybe try a smile, a sad face or something you think will look good on your character!
You can try this tutorial with other faces. Take the base you like most and let your creativity fly!